Friday, 9 September 2022

Gussets and Eyelets and Busks, Oh My!

 I take it all back; the only thing in life/sewing I dislike more than setting in gussets is setting in eyelets. 

For my sins, I have been stitching away and then forgetting to take progress pictures. Since my last post, there have been a range of things going on. A hospital trip, a trip to the GP to pick up some paperwork. Phone calls to arrange appointments for the cat and myself. And some sewing, at which point I started forgetting to take photos. Not that anyone reads this…. 😜

I managed to set in the eyelets on the main body piece of the stays, which will have corresponding eyelets on the busk pocket. I have managed to go awry with these twice before, accidentally putting eyelets through all layers, so having to get happy with scissors and create new openings. Not this time; I PLANNED it. Unfortunately, this is where it went a bit wrong: I did NOT read the instructions properly. This resulted in having to cut out one of the eyelets and replace it, after some darning and patching. I maintain this gives them a “lived in” look. Anyway, I assumed that once I bound the bottom edge, it wasn’t going to show. I then planned to put the eyelets in the correct end of the busk pocket itself, before then stitching it down to the main body. This is exactly what I did, though not in that order. 

The boning channel measurements were correct and some of the bones are now sewn in. There’s a LOT of visible, water-erasable lines on the garments at the moment, but they were all correct. I also trimmed the back edge down (no photos) to give a gap. This is the point I remembered that boning will bring the stays in a bit, but I DID want quite a large gap for the lacing to allow for weight fluctuation and stretching of the fabric over time. 

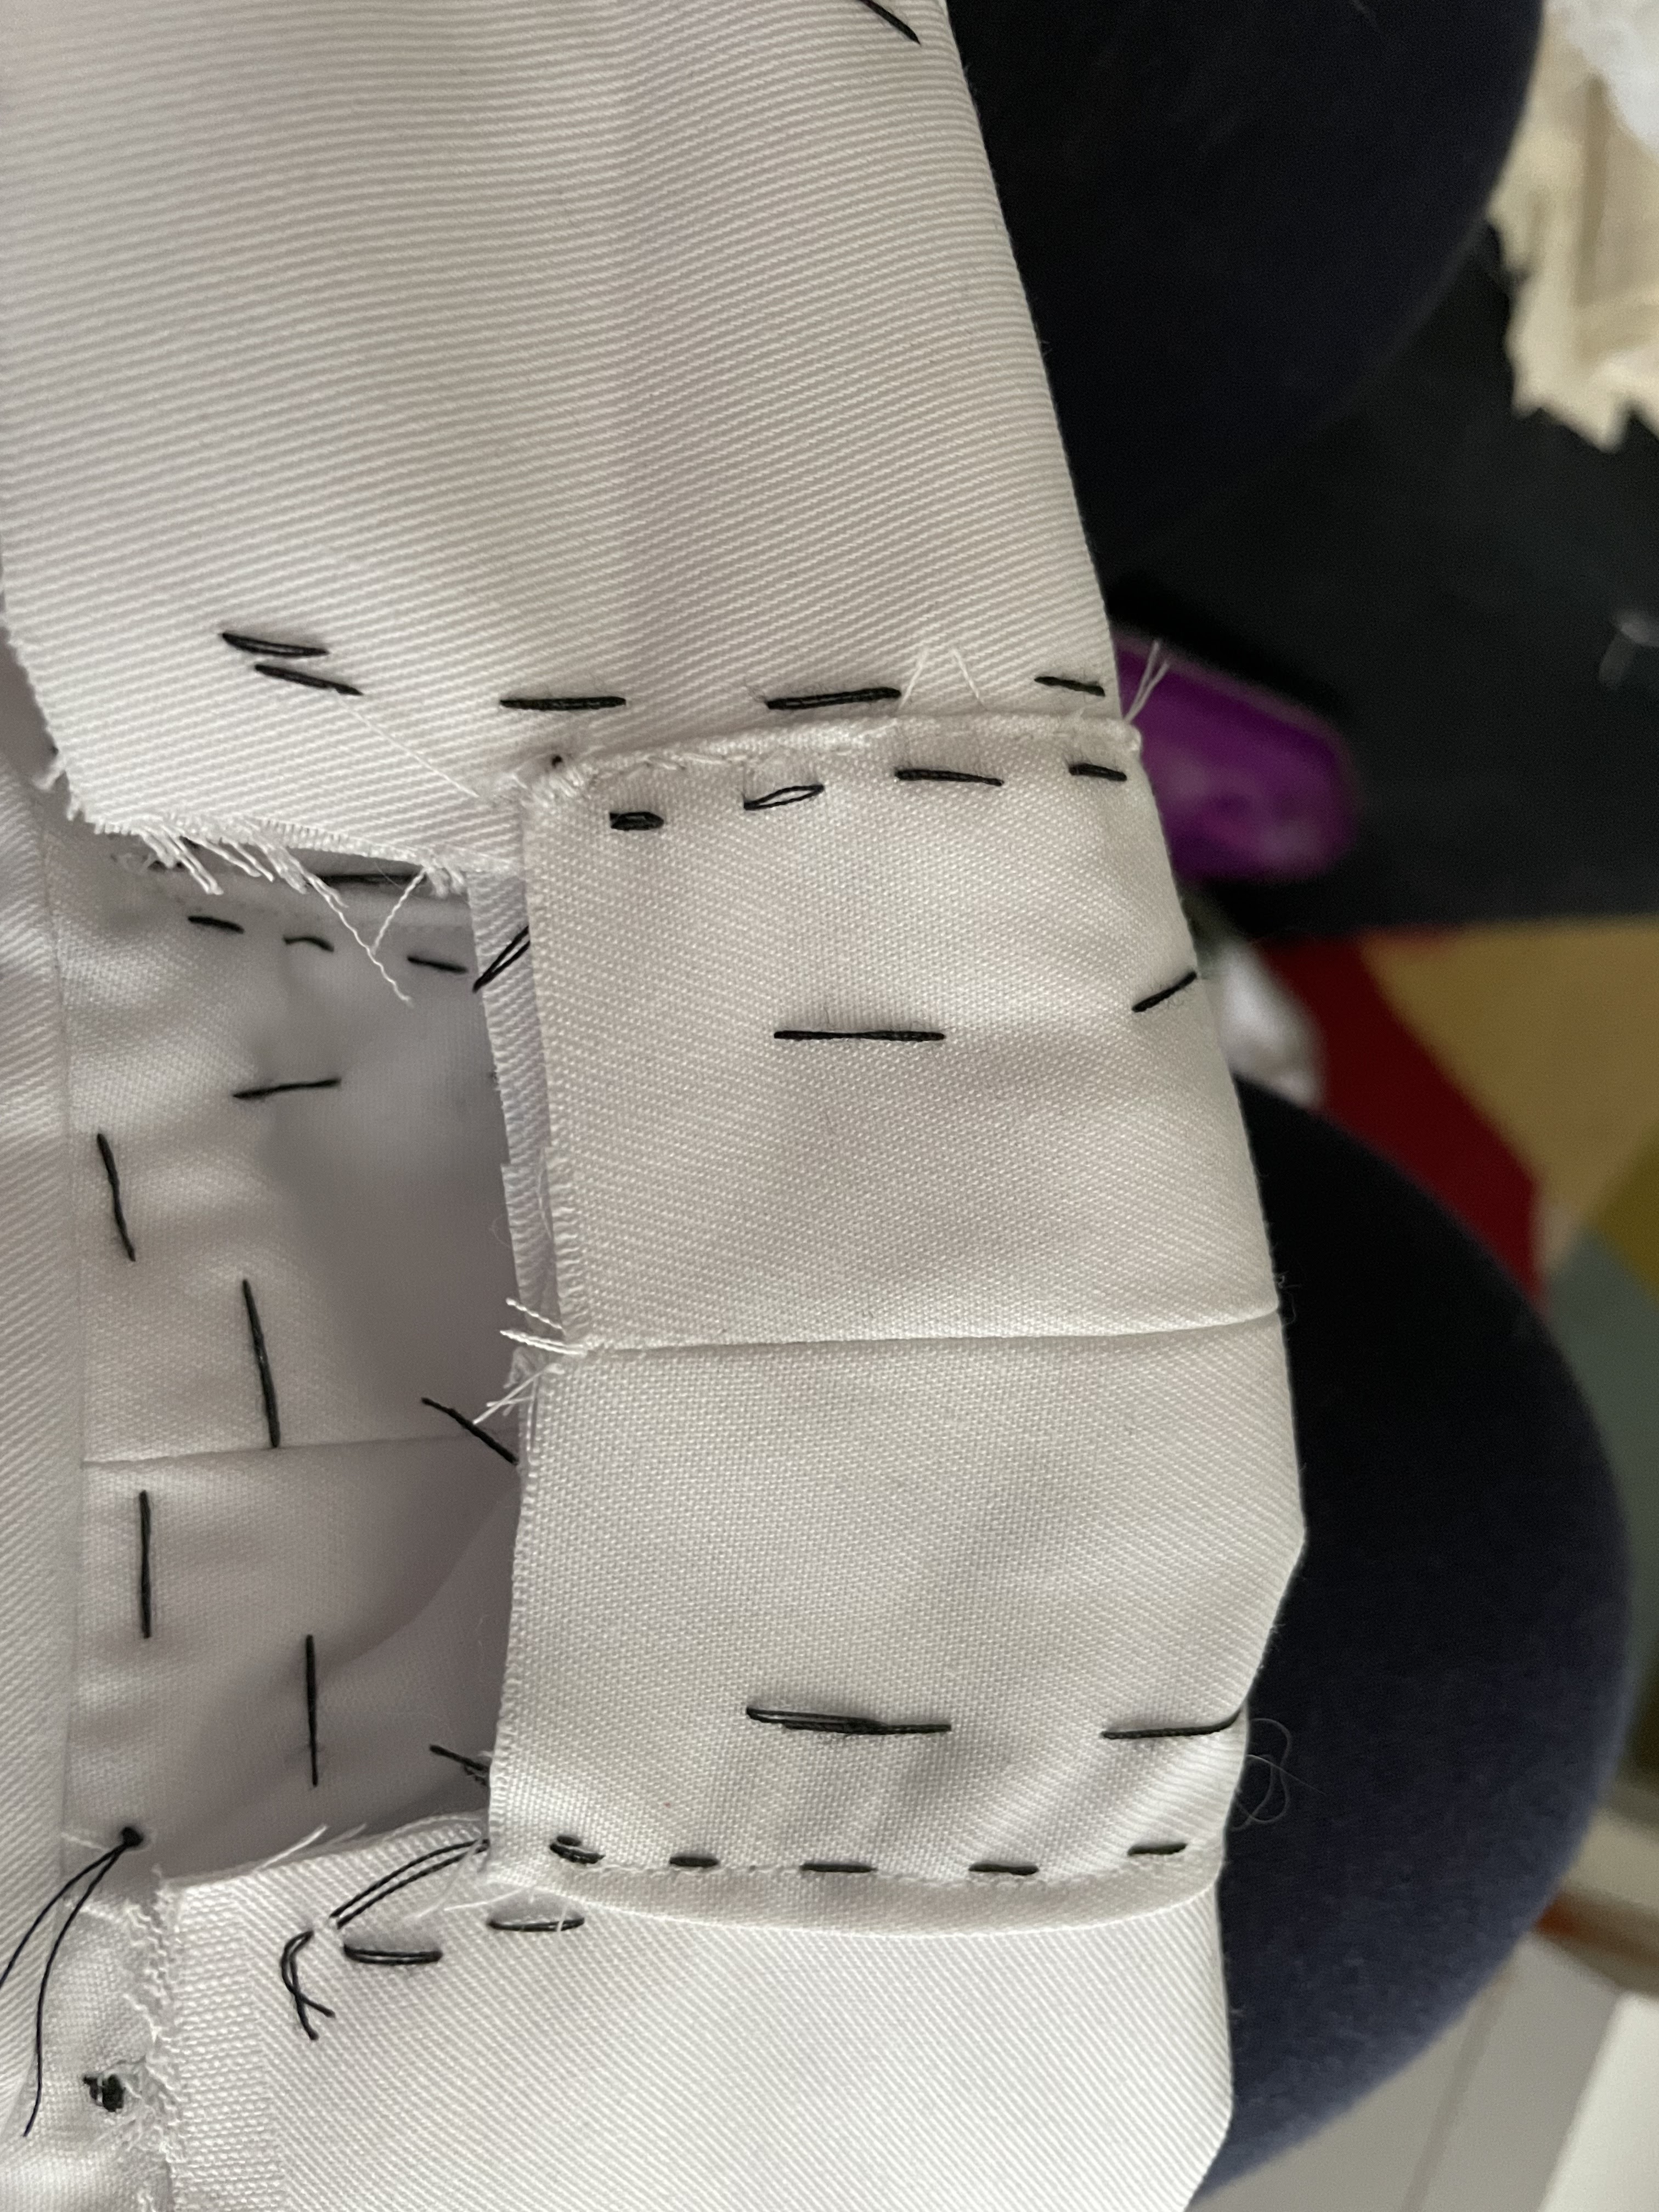
I then decided to bind the bottom edge (seemed like a good idea) and rather than try out a binding foot, this I did by hand, so it is slip stitched (poorly) on both sides. There was a moment, right before I stitched down the underside of the seam nearest the eyelets, where I realised that I hadn’t put the busk pocket tie in place, but fortunately I realised in the Nick of time and got a bit of narrow twill tape in there and tied in a bow to hold it in place. I then finished stitching down the binding. 

Today I then braved eyelets (again), reading the instructions this time and I am glad to report that this pair look a great deal better. I then basted the pocket (after machine finishing the edges) onto the stays, before securing it with my usual, poor slip stitching. I even put the eyelets in the right end (my busk has one end slightly flared, so it needs to go at the bottom and the pocket open from the bottom for access, obvs. This is now stitched down. If anything, I have been slightly generous with the seam and I think I might go in and stitch it down in the hemline of the pocket, just to make it a smidge narrower, but I’ll wait to do that until I see if any moving around of the busk bothers me. (In other words, I can’t be bothered right now). I have also initially marked up the placement of the eyelets at the back edge, to be double checked on position and marked again with the water-erasable marker. I am not sure if I will get to that today, but I have checked my eyelet stash and so long as I don’t mess up (please cross everything), I have sufficient for the project. I am fairly certain that it’s a better idea to get them in before the remaining bones arrive.

Note: In respect of the eyelets and because I live alone, with no maid, sibling or partner to assist me, these are going to be cross, not spiral laced. This is not historically accurate, but a necessity when one has to DIY-lacing. It is what it is and I will not apologise for it. 

After that, it will be a case of binding the top and back edges and they’ll be done. I also need to remove all the channel lines on the thing. I don’t need them as a reminder of which side is up now the busk pocket it in. And, as I almost forgot, the gravity prevention measured (which I need to cut out, stitch, stuff and secure in place).

Finally, no, I still have not made up my mind entirely on what to do about the straps. There absolutely is still time to make these up and attach them to the garment, but I am definitely erring more on the side of twill tape only, with some drill fabric “sleeves” to lightly pad the straps out over the shoulder.  

I have to admit that I am pleased with this project. I’m pretty sure I used the right sizes and that these are going to fit well. I’m also glad that I have come up with fixes relating to the wrap-around ones. 

Anyhoo, it’s Friday. I don’t expect these will be finished until next week, as I’m waiting on the arrival of the remaining bones, but happy weekend to all. 

PS - no photos in this blog post, as the cloud hasn’t migrated them from phone to iPad yet, but I’ll post them over on my Facebook Page - The Costumeer.

Sunday, 4 September 2022

The Trouble with Gussets

 Show me a historical costumer who likes doing gussets and I’ll outright accuse them of lying: I woke this morning, with sense of purpose in relation to the stays. After a sustaining breakfast of porridge (what, I’m Scottish?), I set to purpose with my nemeses. 

The first thing I did was ensure that my two layers were firmly basted to each other - around the top edges, the mid seam and also either in the middle of the gussets or around 5/8 to 1 inch from the fabric edges. Then I set to sandwiching the actual gussets between the layers. Trust me when I say this is NO FUN. 

Side note: with this pattern I have a curving seam horizontally across the pattern. It does help it fit nicely and comes from the Daffodowndilly pattern, on which these are mostly based. If you use this kind of pattern or have a horizontal mid seam, for the love of chocolate, please make sure you trim down the seam allowance pointing up towards the gussets openings. If you don’t, you risk playing about with scissors trying to trim said seam allowance as it pokes up between the gussets. Another suggestion is to tack the triangle bit of the gusset seam to the upturned and pressed horizontal seam to each other (before basting each side of the stays together), so that when you start sandwiching in gussets, everything stays flat. Obviously, this occurred because my gusset slits have to be cut as low as they are, otherwise it wouldn’t have been an issue.

You have to make sure that the seam allowance (1/4 in) is the same on each of the main body edges AND the gussets. Too much and the gussets will be too small (and look wonky). With the fabric edges of the main body, get them wrong and you could end up not securing all layers with stitching. This will result in lots of tears, swearing and redoing. While pinning all this together, you have to go slowly, using lots of pins and essentially do this 3D if you’ve got curved edges to your gussets, to make sure that sandwich hem is approx 1/4 in all the way round. Thankfully, I left just enough space with the basting to be able to check this fairly well. But you have to both pin and think in 3D terms, which is quite difficult, while ensuring the seams are mostly the same, so it won’t wonk up when sewing. You also need to make sure all the edges are properly folded in, so you can’t see any raw edges. 

Now an experienced sewer would tell you to do something entirely sensible at this point, which would be to take a different colour of basting thread, carefully baste all these layers together and then remove most, if not all, of your original SEAM basting (note: not the gussets piece basting, unless it’s hidden by the overlapping edges of the main body piece. I am not that sewer and I tend to get impatient. This is even knowing that by not doing that, I risk (and succeeded with) leaving little bits of visible tacking when I then go to remove the basting. I would also encourage everyone to please tack down the bottom triangle bit of the gussets with thread the same colour as your fabric, so that if you struggle to get it out later, it’s not really going to show. 

Another side note: Sandwiching in the gussets invariably will not go well, resulting in lots of repeated pinning until the gussets are all in sort of the right place, matching at each side, if that makes any sense. If you don’t finagle them properly, you risk the cups being different sizes, hence the attention to detail required when matching all the seams. Also, if you cut your gussets correctly, you will have a bit of surplus fabric extending over the top of the main body part. This it totally fine and you can trim it down afterwards - just make sure that the excess matches on each side of the stays. 

Anyway, at this point I decided I was absolutely not going to stress myself out hand-sewing the gussets in place, as originally planned, mainly because it would lead to even more swearing, tears, blood everywhere and so on (any hand sewing on a project and there’s a lot of spitting - as the enzyme in your spit breaks down blood, reducing permanent staining. Top tip). So, off to the sewing machine I went. 

For the most part, this has gone fairly well, with most of the seams being pretty good. I had to rip out the start of one, when the underside layer decided to wrinkle up and also discovered the same once I was done (but I hand-sewed the correction to that, with blood, swearing and tears). I then overcast the bottoms of the gussets (poorly) and set to pulling out the basting stitches. It’s at this point I have regrets over the colour of the basting thread, but I reassure myself that nobody is going to see them unless I want them to and it will all probably come out with time or a magnifying glass, patience and a set of tweezers. Another tip of mine here is to consider sewing each side of each gusset from top to bottom, rather than trying to constantly turn the fabric. This saves time, promotes accuracy and then you probably should do a few rows of reinforcing stitching across the bottom of each gusset. 

Note: I was correct in that I still absolutely hate hand sewing through multiple layers of fabric, trying to keep seams together.

So - thoughts: Would it have been simpler to stitch in single gusset layers to each side then sandwich together with the boning channels and at the sides of the gussets? Probably, but doing it in one halved the time I spent and I managed to do OK, with minimal correcting. I would definitely say that it is easier to treat each fabric layer individually, but my previous experience has resulted in a degree of wonkiness when then matching up the gussets and stitching those layers together. That said, that stitching is only ever two layers of fabric.

Award to my sewing machine for taking 6 layers of some random drill fabric and stitching it all together. 

I have now pinned the side backs to one layer of the thing and while I am tempted to keep on at this today, I also know that I shouldn’t do these kinds of tasks for more than a couple of hours at a time. Plus, I need to eat my lunch, which I forgot as long Covid left me without appetite stimulus. 

I am still stuck on what to do about the straps, but I think I have the idea of how to do it in my head and in regards to attaching them and the twill. 

The next part of this will be stitching on each side back and then marking (and sewing) all the boning channels. I checked the back seam ones and realised that the ones I bought are a tiny bit too long, so I’ve just bought four, slightly smaller ones and am now waiting for them. Unfortunately, the seller is on annual leave this week so I won’t have them sent out till next Friday, but as I still need to do quite a bit of work on the rest, I’m not overly concerned about this, as I’ve lots more I can work on. The bones are also not wasted: I’m sure I can use them for another project (I might even be able to use them on this one, but that depends on overall comfort and placing). 

Have a great week, everyone. Here are some photos, posted, by chance of the internet gods, in no particular order. I tried, honest.


Saturday, 3 September 2022

Regency Stays Project - continued

 Over on my Facebook page (The Costumeer), you’ll find a post about the ongoing progress of the stays. I WAS going to copy and paste (essentially) into this blog, but then I couldn’t be bothered. Oops. 

There has been a bit of a gap in production, so to speak: It was a sister’s 40th birthday, so I ventured out to see her. For the first time in over two years, I was in a pub. Admittedly, only for about 45 minutes, but I get to factor in travel time on buses and the like and it still knocked me sideways. There was a family dinner, but I didn’t feel up to six siblings, two partners and three small children for a couple of hours. I did my duty and did see the brother I see very little of, which was very nice. 

I have also been dealing with the many boxes of family papers and photographs that I have had to give houseroom to for nine years, which has been a source of such extreme irritation that I could rant for days. Let it be known that we know what’s what, the youngest sister is now taking it all over and most of it is now out of my home. If I have to move, that’s four less boxes to worry about storing. 

Being part of a medical trial and on a distinctly low amount  of calories for a few days until my GP put a stop to it, as well as nasty reactions to ingredients in the trial has NOT helped. 

Then my former roommate and dear friend arrived from Australia, armed with gifts of a culinary variety. As I am still in the trial, albeit on more calories a day, these have been carefully stashed away. She’s now off to Europe, armed with most of my stash of travel goodies, plus some guide and phrase books (I am a useful friend) and a new dress (as the Star Wars green dress is really too big for me but fits her perfectly. I will be ordering more fabric and making another). That, plus a rescan of part of my body at the hospital and I’ve been somewhat exhausted, even with napping, but that’s Long Covid for you.

On with the stays! 

I have been pondering construction of these. As I’m essentially MacGyvering two patterns and fiddling, it’s taking some thought. So, I decided to think this over as I did a fair amount of basting. Historically, basting has not been something I do. That said, when it comes to fiddly small pieces and slightly sloping hems, plus knowledge that I probably would have saved myself a lot of trouble if I HAD bothered to do it in the recent past… well yes, I decided basting is the way forwards. I also have had previous experience of stays projects before and lack of basting DID prove to be a mistake. I can learn, see, look Mum, I’m basting! So far, I already picked up one seam before even basting, that I had pinned incorrectly. 

The issue for me is that 1) I have not decided what I want to do about the straps and whether or not these will be entirely or partly cotton twill tape. It’s easier if I don’t, as then I can bind the entire top and then firmly stitch them to the main part of the stays. On the other hand, if I make the straps at least partly in fabric, there will be a greater degree of comfort across the shoulder: Being the victim of a large set of twins has shown me this. While MOST of the support will come from the main part of the stays, I.e. across my chest, some of the hoiking (for want of a better word) and support will come from the straps and I don’t want them to dig in. A fix for this would be to make some kind of “sleeve” to go over the straps at the shoulder, which would be adjustable. I also bet women of the period came up with novel ways to address this. The good news on my overall strap design is that there ARE two extant examples around the period of a similar design to what I’ve come up with. 

2) By far the biggest issue is the way I’m handling the bust gussets, which is to sandwich them between the two layers of drill and sew them down in one. This means, with seam allowance, going through SIX layers of drill. This would mean that all layers would then be treated as one at that point. Obviously, i can then stitch the sides/backs fairly easily as individual layers, but this would then create a small issue at the back seam, as I wouldn’t be able to sew them together and then turn them right side out: with the gussets already in place, it’s not going to work. I CAN turn under the correct seam allowance at the back and top stitch it down. 

The alternative is to stitch all the panels together, except for the gussets, stitch the layers together at the back seams ONLY, turn it right side out (as it’s going to be bound across the top and bottom anyway) and THEN sandwich in the gussets as before. I am also reminded that, as far as I’m concerned, I haven’t quite decided on if the back panels need trimmed back any further to take into account flexibility on weight change. 

I’m also reminded, especially if I am planning on further trimming the back pieces, that I can also bind those edges if I have to AND top stitching isn’t the end of the world. 

If I was doing a lining, this wouldn’t matter, as I could simply treat all the layers as one, but most extant examples of these kind of stays are only two layers and I don’t have the right fabric to line it with to be honest. Plus, I also can’t be bothered. I don’t want to fell down my seams or cover them with a lining - I still have the separate busk pocket to figure out, which is STILL going on last (I’ve learned from many eyelet mistakes, so I have. 

Anyway, I’ve still got some seam un-ripping to do, bits and pieces to salvage from ye olde wrap-over set and the final eight steel bones arrived today. I’ve also researched what I need to do to aid gravity 😂 on the inside. After that, if I can, I might dig out the sewing machine (what? I’m not sewing ALL of this by hand…) and sew together the seams that need doing, with some HEAVY ironing tomorrow.

So that’s where I am, this fine Saturday. If you care to see photographs (as I am sure we all know I am utterly useless at inserting them in these blog posts), they’re over on The Costumeer. I have not, however, taken any of the basted pieces as I deem that a bit boring. 

Until next time, dear friends.

Tuesday, 16 August 2022

Regency Stays - the mock-up with a bonus Long Covid Update

 Several posts across a number of days…

I’ll deal with the Long Covid aspect of things first: I have just started the active part of a research trial intervention aimed at reducing symptoms. Because mine are largely dysautonomia and histamine related, I can’t see there being any great change, but that’s the primary reason for my going into the trial; to prove them wrong. Otherwise, I’m much the same as I usually am, with some fairly horrible insomnia at the moment, but my sister arrives tomorrow and I am delighted! 

The mock-up has gone well. Each piece went together neatly. I think I mentioned before that the main differences to the wrapover and ones are a pacing background and the front of the bodice raises up, per the sensibility pattern. This is a good thing when you are restraining twins the size of mine. 

I placed the side gussets (towards armsyce) first, after draping the thing against me in front of the mirror. Sure enough, the best side gusset was the one closest to the armsyce, so I cut accordingly. I then basted in the round, rather than rectangular, shaped gussets (these are slightly shorter than the ones to the centre of the chest for shaping). It was at this point I remembered just how much I hate putting gussets in, even basting, by hand. If you read about other costumers also complaining about this, it’s for REASONS. Another look in the mirror and yes, these are in the correct position. I then used the furthest gusset mark from that for the inner ones and, cursing again internally, I basted those in and held them up for a look in the mirror. They look pretty good, proving my theory that getting the positioning/placement of the gussets is key to this; after all, they won’t do what they’re meant to if they’re not where they need to be for a) the period look and b) your body shape. The gusset marks on the Sensibility Simplicity pattern might well be to take into account the fact they’re front lacing and will likely have a gap, but would never have worked out for me, given I am actually narrow of body, with wide spaced twins. It means I also have narrow shoulders. 

Anyway, I made some notes as follows: 

1) I need to move the central gussets over towards the middle point a bit more. The gap between gussets needs to be about 2 1/2 inches - again, this is about my shape and size. 

2) On measuring the whole width of the garment, I need to redraft the gussets to overall reduce it and also use the 1/4 inch seam allowance rather than 1/2 originally drafted. At the moment, if I lose weight, the cups will be a little on the big side (this is why the whole idea of gathered cups is such an interesting prospect and I really want to have a go at these next for a pair of transitional stays). As I’m going to add in a drawstring along the top bodice bias, that will help overall, but the point of the chemise and other undergarments is to help corral the chest (and it wasn’t like regency ladies were doing anything other than sashay gracefully, rather than engaging in Georgian Era Cross Fit). Plus I have an idea for a fix for that, just in case. 

The other thing is I’d already decided on a 4 inch lacing gap for these, precisely because I want to be able to use them as I am losing weight. As a general rule, my underbust might drop by 2-3 inches, so if I cut to accommodate that, this set will do me quite well for a range of sizes. I’ve tentatively marked this on my mock-up.

3) While I had already arranged for a bit more coverage at the armsyce edge, whilst holding the mock-up to me, I noticed I need to add a bit more here, 1cm in fact, shaping it in. This, once the cups and planned boning are in place, will significantly reduce side and gravity effects. 

I have decided to use cotton drill - as it turns out left over from the wrap-over stays - as there are extant examples of this fabric, cutting all pieces except the front bodice pieces on the grain, with the top front section cut crosswise. The reason for that is to do with reduction in stretch and support (my brain), but I haven’t decided if I’ll cut the gussets on the bias or not. I suspect not, as I want to avoid stretch later and because I think there would be even more tears in gusset setting if I do. 

I am still undecided on the lacing aspect and also on the straps: I do think it would be easier to just use inch wide twill tape for them in their entirety, but make some kind of fabric “sleeve” out of drill to sit over my shoulder where it’s likely to dig in. Not remotely period correct. I also have to contend with VERY narrow shoulders, so I always have to narrow straps etc. you should see my chemisette - it’s so very wide it doesn’t work (and is also in the pile of things to be altered to fit better). 


Here follows some more photos, which may or may not be accompanied by explanations…

Sunday, 14 August 2022

Regency stays - drafting, part two

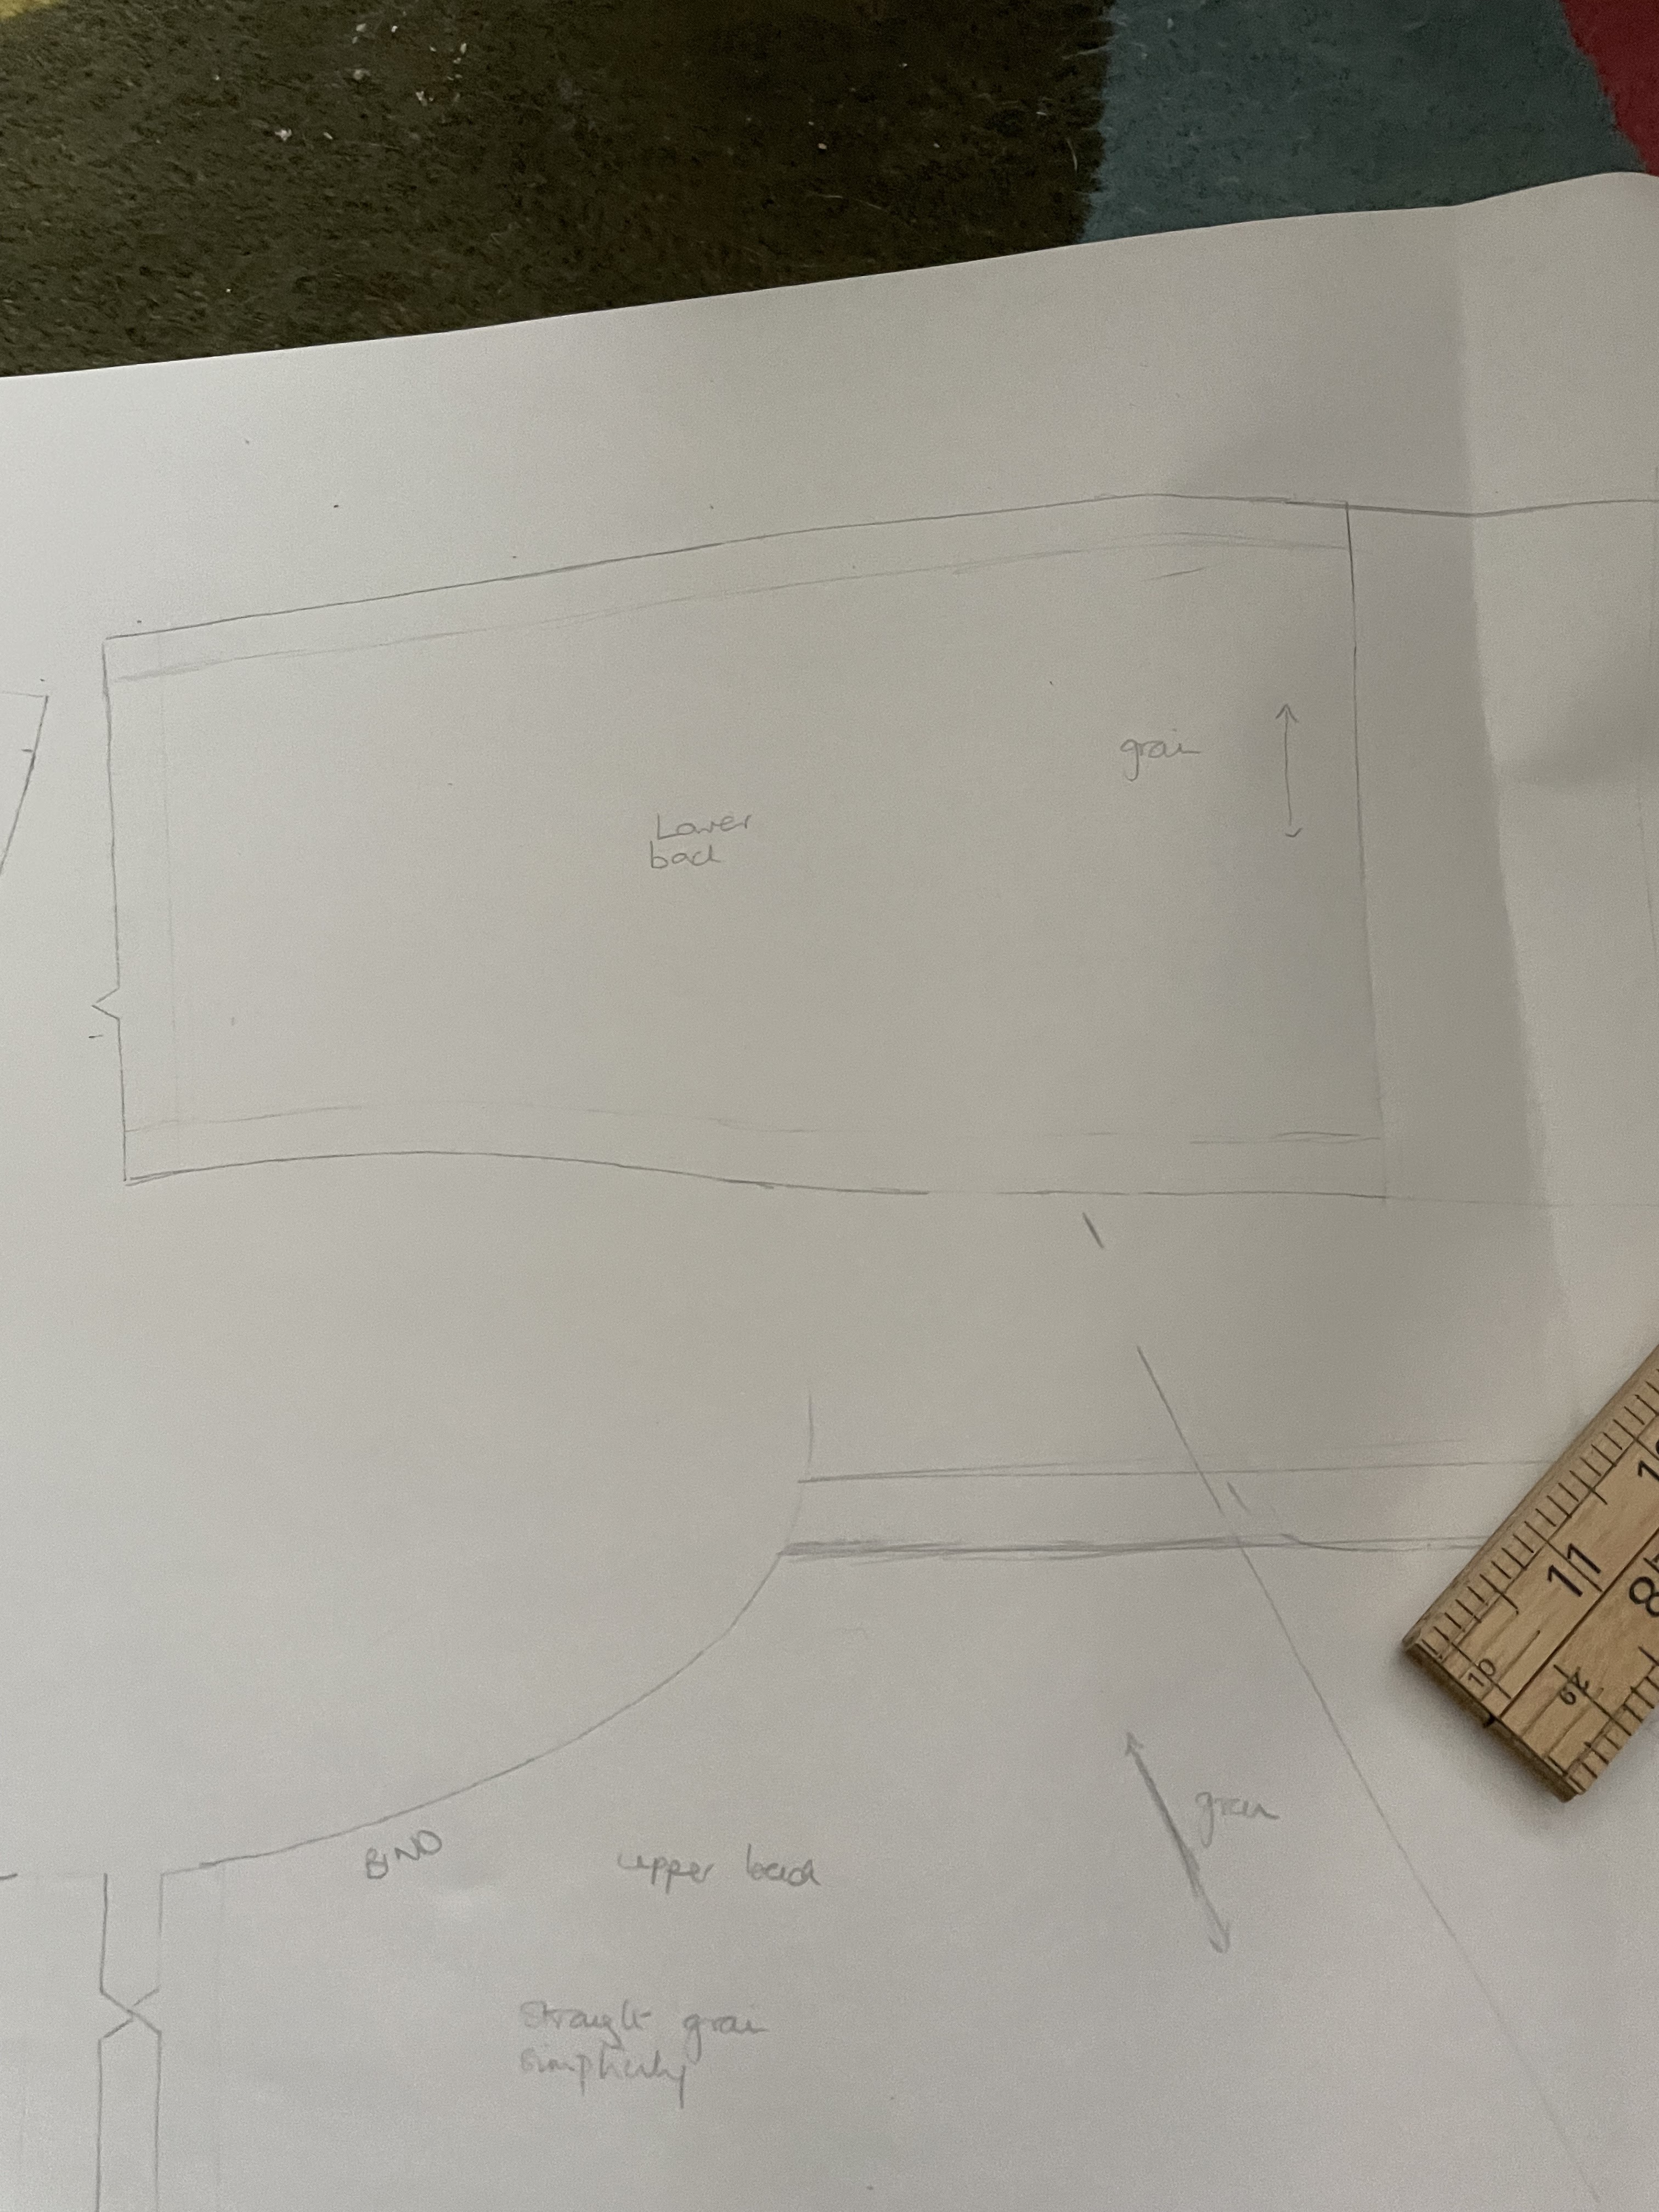
 Anyway, as a second part to the former, in drafting these things, here’s what I want:

A) has to be back laced for the body part; nothing else will do in respect of both support and gravity defying. Trust me: I know this from bitter personal experience. Back lacing also allows for a degree of size shifting as well

B) Needs to have crossover straps. There is already the example I am mostly basing these off, as well as others in contemporary drawings. Do not ask me to link these; I am not good at embedding links, images as I think we can tell from part 1. The straps will be fabric and twill tape. There will be strap guards in two places on the main body of the stays, to secure the straps at the cross point and side. These will be tied in front. I dithered about whether or not they should be entirely twill tape, but experience of bras tells me that the fabric strap part will be more comfortable and dig in less than twill tape on its own, if it comes to it. 

C) Needs a busk at the front, which I have from the previous project. It’s an interesting, not entirely straight shape. This also helps with the classic “lifted and separated” “shelf” cleavage shape.

D) Gravity assistance - this will be in the form of small “pillows” creating a squishy shelf under each of the twins. I will also put in some short boning under the gussets to help keep its shape. The former has been documented in extant examples and boning under the gussets is recommended in a couple of patterns I’ve seen. I strongly suspect that the cording in many extant examples also fulfilled the purpose. I, however, have never corded anything in my life and despite the YouTube videos showing it to be relatively easy, I’m not confident.

E) This thing needs boning, so it will be boned at the back, on either side of the eyelets, at the side seams and will also have diagonal boning at the armsyce side of the gussets. I will probably double the boning at the side seams, but then again, I might not. That’s TBD. As mentioned before, there will be a busk centre front, with a slightly wide flare to the bottom of it and some short boning pieces. I currently have steel bones, as well as synthetic whalebone kicking around, but I also have a packet of plastic zip ties and I am SORELY tempted to try those for the most part. We will see.

I did intend to use a basic back lacing, but then I watched a YouTube video with fantail lacing last night and aside from the fact it looks a) stunning and b) would make it SUPER easy to get oneself into, I’m not sure if I actually have enough ribbon or twill tape to do this. What I do think is that if I decided I wanted to change the lacing in future, I would be able to. The big thing for me would be if it would work, given gap required to get it over the head, therefore the amount of lacing and so on. So I am sticking with the usual way I lace mine for ease (and lack of maids or helpers).

The other key part of my project was to avoid buying any more materials unless I absolutely had to. During the abortive search for the Mantua Maker pattern, I not only found a lack of coutil for yet another corset project I haven’t made, but what I think is enough cotton drill (period accurate), plus a LOT of muslin/natural cotton for mock-ups. Yes, I can hear you from here that a layer of cotton isn’t enough, but all I need my mock-up for us to check the gusset position and depth - anything else will come from as I am making it.

Naturally, I am delighted at avoiding fabric expense for this (and the next project, which will be the replacement white dress). With the drill and all the twill tape kicking around, I think we are nearly good to go. As an even bigger bonus, I have a whole load of bias tape that I carefully unpicked from the chemise a La reine failure I can use to bind this. Binding will be along the base, along the bust and top edges, but probably won’t include the straps, due to their design. 

Of course, having Long Covid, needing to do things round the house etc has left me a bit wiped out, plus I’ve been distracted looking for patterns and images of how I want my replacement white regency dress to look, not to mention getting carried away with future regency wardrobe planning… so far I am at a morning over gown (Costume in Detail), a Black Snail Patterns sleeveless spencer, probably an open robe based on that pattern,  new spencer (we don’t talk about the one I made before) and I really, really want a new bonnet. I am torn between an image in one of my books and a Timely Tresses pattern, for which I suspect I have enough buckram kicking around, but I do need some other little bits and pieces to make. This then resulted in my going into a rabbit hole of online fabric retailers, but I have now found silk. And possible Melton, from which I can remake my red cloak. And I may have found another garment pattern to work from in respect of drafting a mantelet… but I am getting carried away.

So, once I have showered today, the plan is to cut out the mock up and check the placement of one of the gussets, which will decide placement of the second (and gap between). It *is* possible to have a third gusset if needed, but I am hoping to avoid that.if it comes to it, I’d rather do a full drawstring cup (which is basically a cup shape, with lots of drawstrings and drawstring channels, which then help push the twins up and into the shape required).


I also just realised I do need to buy some macrame cotton for drawstrings… I also need some kind of disappearing or chalk marking pen. I cannot find mine anywhere.

Regency Short Stays - drafting, part one.

 Greetings, friends. 

I think I might have alluded to the fact I was taking my regency wardrobe to task in my last post. I can now confirm that I have done this, as well as take apart a Chemise A La Reine that had never really worked. The first regency dress I ever made (hand stitched: I was terrified of my sewing machine) has now had its sleeves and front bodice removed, leaving the lining, back etc as a petticoat. I am also casting a stern eye over my other petticoat, which is similar style and I now want to attack and change. That’s by-the-by.

I have a set of long regency stays - stitched by hand, some 11 years ago - and a set of short ones, which have a wrapover back. I do actually have another set of very short stays, beautifully made for me, which never quite worked and are like the extant example in the Kyoto collection. The short stays I have are based on an extant example, but which did not have pictures of the back at the time. It was assumed crossover back, but it turns out only the straps crossed over and the back was secured with a series of ties: Slightly different to lacing, but not much. As this is kind of what I’m looking for, I then decided to dig out all the patterns I have. (This is the point I found out I could not find my Mantua Maker stays pattern to work from. I looked everywhere. So I bought a replacement from my usual site then realised I could have got it cheaper at a U.K. site. Argh). So I’m working from the Daffodowndilly short, wrap-over stays and also the Simplicity Sense and Sensibility patterns. Then cue many YouTube searches and watching of videos, including one on how to draft your own ones, as well as online searches for drafting and making said short stays.

I should say that when I say short stays, I mean somewhere between short and long: There is no way, with the sizeable assets I have, that short stays are going to work. This is primarily because, due to cup size, the gussets would need to be an extreme length, so mid length stays this is. I already know that the wrap-over ones are comfortable to wear, so I am not worried about them digging into my waist. 

(I will also admit, at this juncture and knowing what I know about pregnancy stays and my body’s ability to sway in size, whether it would be an idea to use some degree of side lacing, but I digress). 

So, having dug out the patterns, I decided to create a pattern by tracing each part of the wrap-over pattern and then over-laying the simplicity pattern pieces. 

To begin with, I’ve taken some measurements: 

1) underbust; 2) Overbust (usual bra); 3) overbust in sports bra (to give an idea of the right amount of compression - in my case 2 inches), 4) gusset (which is the distance between your underbust and apex/nipple) and, finally, 5) the distance between nipples (which, as it turns out, is quite important for situating your gussets).

I already knew, from the wrap-over and other stays, that the gusset size in my case needed attention, both in respect of width AND depth. In my case, 3 inches is NOT going to cut it. Add to the issue that there is a large gap between the twins AND a lower apex point on me and whatever I design is going to look a lot more like later regency/early Victorian, but i have to adjust for what I’ve got. So I have looked at my pattern pieces and marked ALL the gusset cut marks on there, with the ones related to my chest measurement (5) noted. Basically, I have temporarily marked my midpoint. What I don’t know YET is whether I’m having one or two inches between the gussets. That I’ll figure out on my mock-up. I have drafted two sets of gussets, which correspond to the overall difference between underbrush and sports bra measurement - (each gusset = 1/2 (measurement 3 minus measurement 1, divided by two), so the top point of the gusset will be 2 inches. One set is more triangular and the other is more rounded. The latter will give me more room to play with. If those don’t work, I’m going to use a more transitional design, cut out the cup shape and have adjustable cups with a lot of drawstrings, if I need to. I actually have a yet ANOTHER stays pattern design that shows just how to do this.

Having transferred these measurements over, per usual, I note that one of the gusset marks is literally going to be right under my armpit, but that’s my body. Anyway, as I’m a useless blogger, please see the photos attached showing my processes and the drafting of all the bits and pieces, including where I laid my existing short stays over the pattern piece to see if I was, indeed, correct, re the position of the side Gusset slit.


That’s all for now. Unfortunately, none of the photos are in order, but I don’t think it matters particularly. It’s just to give an idea of where I am in the process. Next step is to cut out my mock-up and see where those gusset slits are going to go and if I need them to be as long as I think they should be. 


Sunday, 7 August 2022

Long Covid and Costuming

 Ha, friends! Definitely much later than I planned, but still keeping the blog sort-of up to date…

Momentarily distracted while I was ironing black cotton drill, might be twill, yesterday, my eyes fell on the box of Regency costume goodies I had packed up for my sister, who, along with a friend attended the Season 2 Premiere of Bridgerton. Needless to say, I’d expressed my concerns nothing I own would fit (she’s several sizes smaller than me) so she took my advice and sorted costume hire. They looked MARVELLOUS. 

Anyhoo, it’s been a LONG time plan of mine to really sort out that wardrobe; reusing petticoats that don’t really work, dresses that don’t fit or are kind of old and getting to grips with the Chemise A La Reine that I never even finished….which I started back in 2009? 2010? 

Yesterday I successfully pulled apart the chemise a la reine, memories of hand sewing in metres of bias binding apparently something that’s scarred to my memory: Ripping it out took much less time. That’s all now ready to be washed, ready to be stitched up into a drawstring, front fastening Regency Gown. Then I tackled the other, favourite regency gown, which has done me well over the years, but was never QUITE right; the sleeves and neck binding are removed and I am pondering on how to successfully remove the front bodice. I need to locate my white thread, as this will involve reinforcing hems so I don’t have the whole thing fall apart. There’s an underbodice lining that’s pinned to secure it, with the drawstring front over the top; I’m keeping this and using it as the bodice, with a separate skirt. It’s going to be my new petticoat.

All of this, while extremely thrifty, obvs, is actually period correct; old dresses were often altered to become petticoats and others cut down to become the new fashions. It is really, really common. I am particularly pleased at the lengths of bias binding and ribbon I have managed to save in this endeavour as well. 

My favoured type of regency gown is the kind that’s apron or drawstring front, as opposed to the slightly later fixed bodice. This is mainly because of weight fluctuating and those dresses I have found can often be worn to suit a range of sizes. My Lizzie Bennet (a macgyvered creation) is one I made to fit me when larger, but fits well when I am smaller. This would be common as well, particularly amongst those who could not afford a whole new wardrobe for size changes, as well as maternity. I am erring on the side of drawstring front gown, but I don’t have a pattern for it. I *think* I can use existing patterns for most of it and I AM keen to give the Laughing Moon drop front gown dress pattern a chance as I a) have that and b) I hear good things about it. I am lucky in that I have good friends who do a LOT of regency and period costume dress making who can advise on how much to add to the front dress/bodice panels.

My bigger issue is the sleeves; long is period correct, but I prefer the 3/4 length. Sigh.

In recent weeks, I have heard of and been investigating a company called Black Snail and they have a couple of period patterns I am really keen on investigating; one is a regency/transition drawstring front and the other, I think, a drop front, with bonus waistcoat/Weskit/sleeveless spencer thing (which has distinct possibilities to create overgowns from).

The third item I am chopping to pieces is the first petticoat I ever made and, I think, the first pattern I ever, using instructions, was an adaptation - the skirt is coming off, to be reused as a petticoat (but with straps), while the bodice will be used for lining, if I can get enough out of it. It’s been too small over the bust for a long time, plus never accommodated weight fluctuations. 

I also have a striped, very fitted regency dress that I’ve always had reservations about. That’s going to be pulled apart and the fabric reused for something modern. There’s probably enough to get a decent garment out of, either for me or for my nerfling. Actually, there almost certainly is. I’ve got a great kid’s pattern for dungarees or pinafore it might work for. Maybe. If not, definitely longer shorts or summer trousers, deffo another summer skirt for her. Poor kid is now up to two skirts from me, one a cut down from another period garment, another from fabric I had had kicking around for at least a decade. 

Anyway, Long Covid continues to leave its mark and daily reminders of how it’s firmly got me under control. I am about to start the rapid diet phase of a study aimed at seeing if weight loss improves Long Covid symptoms. My suspicion is that it won’t, but I am willing to try anything to see if it helps. Plus side: I am saving on food for 12 weeks. Down side: It is highly likely this won’t work, I won’t lose weight (bs of what LC does), the ingredients are going to set off histamine etc symptoms and so on. I have said I will try. I also suspect I will cheat a bit. Bigger sigh. To be honest, if I DO lose 15% of my weight, I will have to get all the smaller clothes back out of vacuum storage and I’m not thrilled about that idea, I can tell you, but at least I do have them. 


That’s all for now. I hope you’re all well. En marche! 

Thoughts on Altering Patterns for the Wheelchair user

 Look at me with another post within a few days of the last one! Pattern pieces for the trousers are now cut out and I’ve been busy looking ...